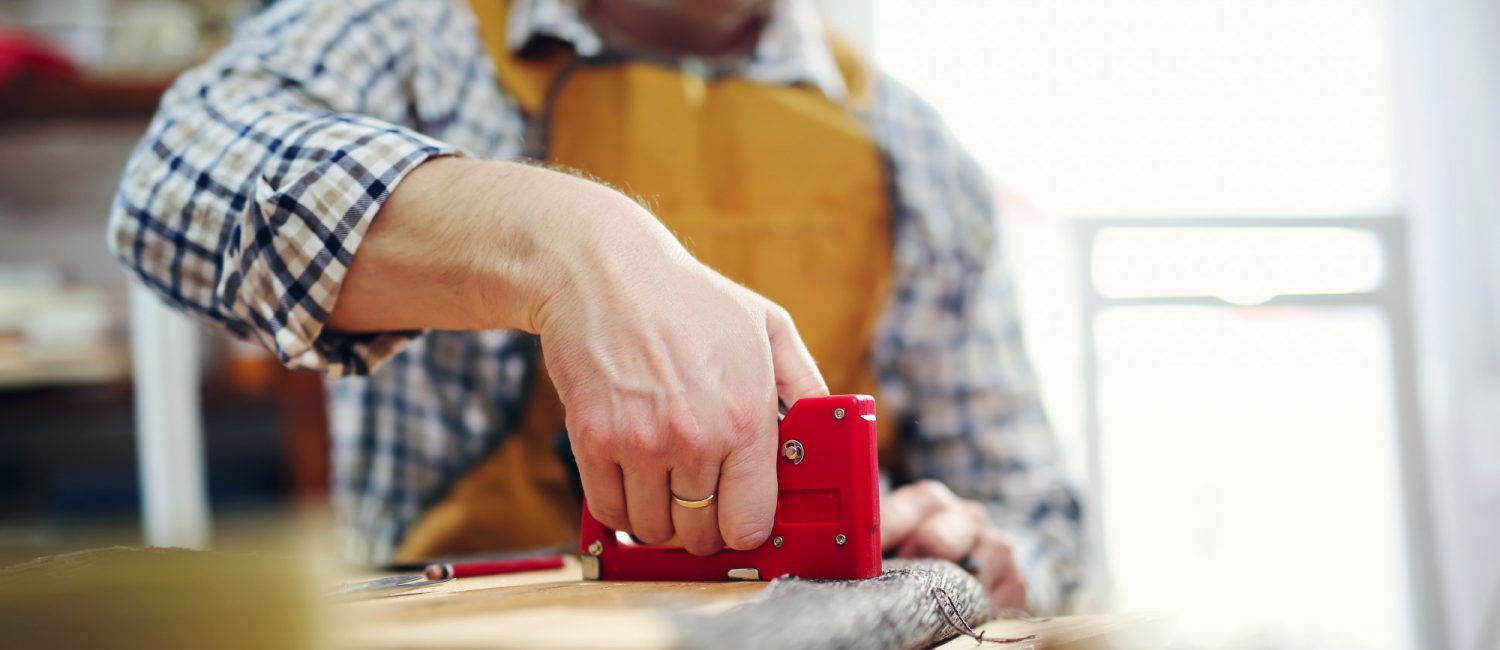
Not only do we sell quality upholstery tools and materials; we can also show you how to succeed with your upholstery or soft furnishing project. Our carefully selected product range is tried and tested and gives you a good starting point, whether you are a DIY enthusiast or a specialist upholsterer.
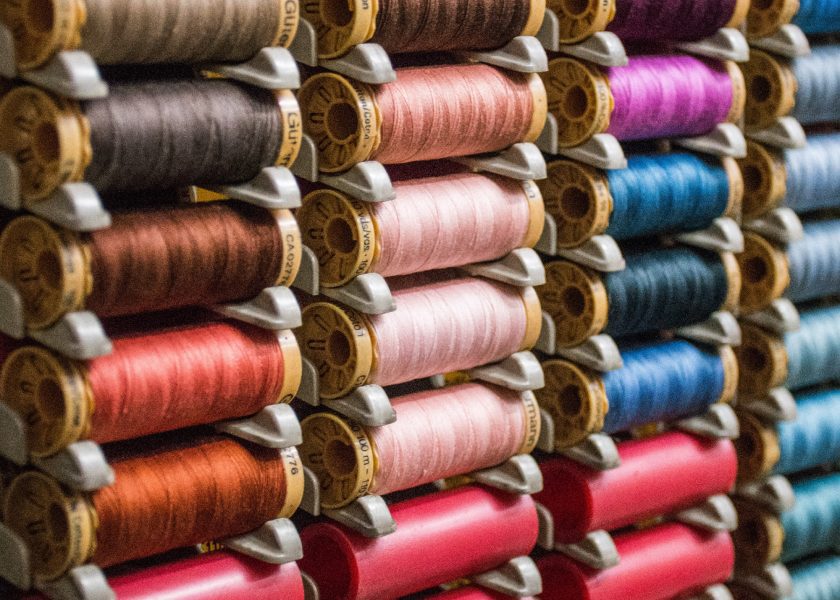
We stock thousands of quality upholstery tools & materials that are designed to help you succeed with your upholstery or soft furnishing project.
Browse our huge product range online. Our expert team are always on hand and happy to help, whether you’re stocking up on old favourites or looking for something new.
Our mission statement is to establish the JAM brand as a profitable, sustainable, efficient, renowned name in the UK and internationally, with a reputation for excellent friendly and efficient customer service. The company philosophy is to treat customers, suppliers, employees and service providers with respect and integrity they all deserve

We belong to The Association of Master Upholsterers & Soft Furnishers
J A Milton on Trustpilot

Servicing your upholstery needs for over 30 years
We’re committed to rewarding our loyal customers with exclusive offers and discounts – the more you spend, the more you save!
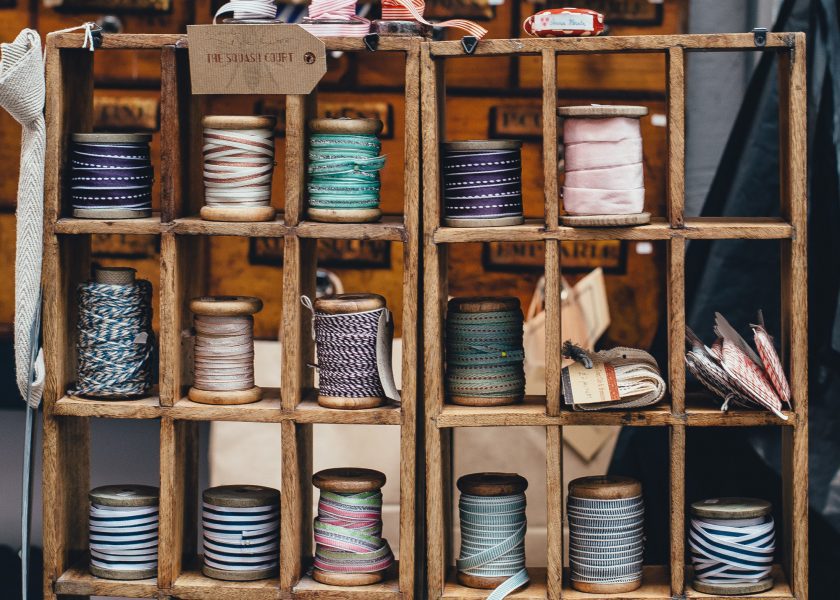
We’ve put together some of our best upholstery tips and tricks including ‘how to’ videos and handy photo guides to help you with your project.
Explore this season’s latest deals and offers, with reduced prices on some of your favourite items